Monday, October 31, 2011

Trick or Treat...Last Minute Halloween Ideas!

Can you guess what I was for my Halloween weekend? I'll give you one guess...a Zombie Hipster! Alex and I spent the weekend visiting one of my great friends in the Appalachian Mountains this past weekend (just what I needed to balance out my crazy week!), and everyone loved out costumes! We had people come up to us the whole night saying things like, "so exclusive" or "this song is too mainstream." We also had people stop us on our way to the party to take pictures! It was such a blast. And guess what? Our costumes were homemade, and very inexpensive.
t-shirt: $1 at the Dollar General
paint: $1.20 for all 4 colors (and I have plenty left over!)
Hipster glasses: Free, with the purchase of an awesome 3D movie ticket!
Flannel: $4 at a thrift store, or free if you can bum one off of a friend

It took me about 30 minutes to make the shirt and let it dry (I cheated and used one of those powerful hand blowers to make it dry faster!) And here are the results! Alex's shirt says "So Exclusive" and my shirt says, "Life Was Too Mainstream"
And here is a picture of us in our element, infesting the town!
Feel free to copy our last minute idea ;) Also if you want a few more ideas, try some of these DIY looks below:

1. Sailor
What you need:
a white t-shirt
navy blue paint
a ruler to keep your lines straight
a cute white skirt or shorts
a cool paper sailor's hat (click here for instructions!)
or try painting this if you are feeling artsy:
and try pinning a quick bow onto your hat using my 2 minute bow instructions!

2. The Incredibles
You can either make this shirt with "No Sew" glue, like the one above, or with paint (probably the easiest way for the procrastinators in all of us!)
What You Need:
Red Shirt
black, orange and yellow paint
pencil (you want to sketch this design out first!)
black mask ( either make out of old DIY fabric, or buy one for $1 at Wal-Mart)
red tights
black shorts...or undies, depending on the party, I suppose ;)

3. David Bowie
All you need for this one is some face paint, hair gel, and some super tight and flashy clothing! 
Try something similar to the look below:

4. The Smurfs
They were adorable! This one might be messy with all of the baby blue body paint, but pair this with a cute thrifted dress and some blue leggings, and you'll definitely be a conversation piece!

That's all that I have! Happy Halloween, Everyone!
*********IF YOU ARE INTERESTED IN THE SMALL WORLD PROJECT FOR THIS MONTH, PLEASE EMAIL ME ASAP. WE ONLY HAVE 2 SPOTS LEFT!!!!**************
Follow The Art of Being Cool

Tuesday, October 25, 2011

DIY...Rainbow Strokes Tee

 Hello everyone! Today I have a new DIY that I like to call the Rainbow Strokes Tee. I made this t-shirt in honor of my non-profit organization, Party For Autism. The different colorful strokes and the mixing of colors are suppose to represent the primarily similar yet different characteristics that make up individuals with autism. (Read about our philosophy here!)
Normally, I would give a detailed tutorial on how to make this shirt, but I feel like that takes the creativity out of it! Here are the basic materials that you will need:
-A black t-shirt (learn how to make a tank top out of a t-shirt here!)
-An Assortment of Acrylic Paint
-A paint brush (I use a black sponge brush)
-A straight edge (optional) to make sure that your lines are even on the top and bottom, and not slanted on the sides, unless that's the look you want!
Make sure that you hold your t-shirt up against you from time to time to make sure that your lines are long enough, or mark them ahead of time.


(My inspiration bored in the back is feeling pretty empty! That's a problem!)
And I cannot mention strokes without thinking about this wonderful band! Thanks again, Alex for introducing me to them awhile back ;)


Follow The Art of Being Cool

Monday, October 24, 2011

DIY...The Easy, Two Minute Bow

Ever wanted to make a bow, but couldn't because you didn't have access to a sewing machine or hot glue gun? Well, have no fear! The Two Minute Bow is here!
Here are quick and easy instructions on how to make a temporary or long term bow out of scraps from an old t-shirt!
1. Identify an old t-shirt or scraps from a DIY t-shirt. If using a full t-shirt, cut horizontally across the bottom of the t-shirt the length that you want your bow to be (my bow was about 4 inches long). Once this is cut, make sure to cut the side seams so that your fabric lays flat and is not doubled. Also cut the bottom seam so that you can use this to tie your bow later.


2. Take your seamless fabric and fold a portion of it to the width that you want your bow.
 3. Cut this portion from the fabric.
 4. Unfold this fabric and slightly fold the egdes of what will be the top and bottom of the bow.
 5. Fold the fabric so that the two folded edges lay on top of each other.
6. Take the bottom seam that you cut off earlier and wrap it around your bow. Cut it so that it fits (I only used about 2 inches to wrap my bow)
7. Once you are finished wrapping your bow, tuck the lose edge in the back of the bow and stick a bobby pin  through the back side of the bow so that it can easily be bobby-pinned into your hair.
Voila! An easy bow that shouldn't take more than 2 minutes! Make sure to save your scraps so that you can make more bows in the future. This would be cute to pin on the straps of a sleeveless shirt or on a bag, and of course in your hair! Let me know if you try it!

Follow The Art of Being Cool

Tuesday, October 18, 2011

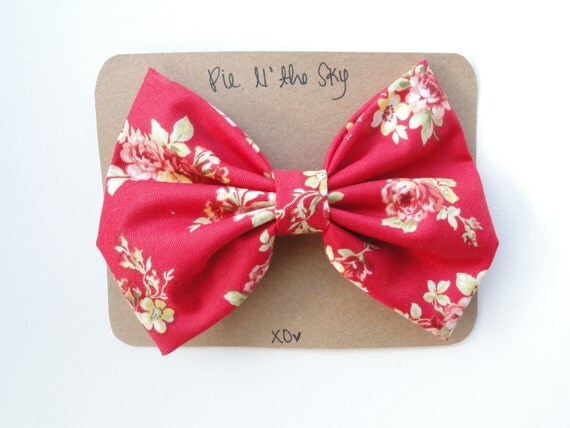
Etsy Shop- Pie N' The Sky

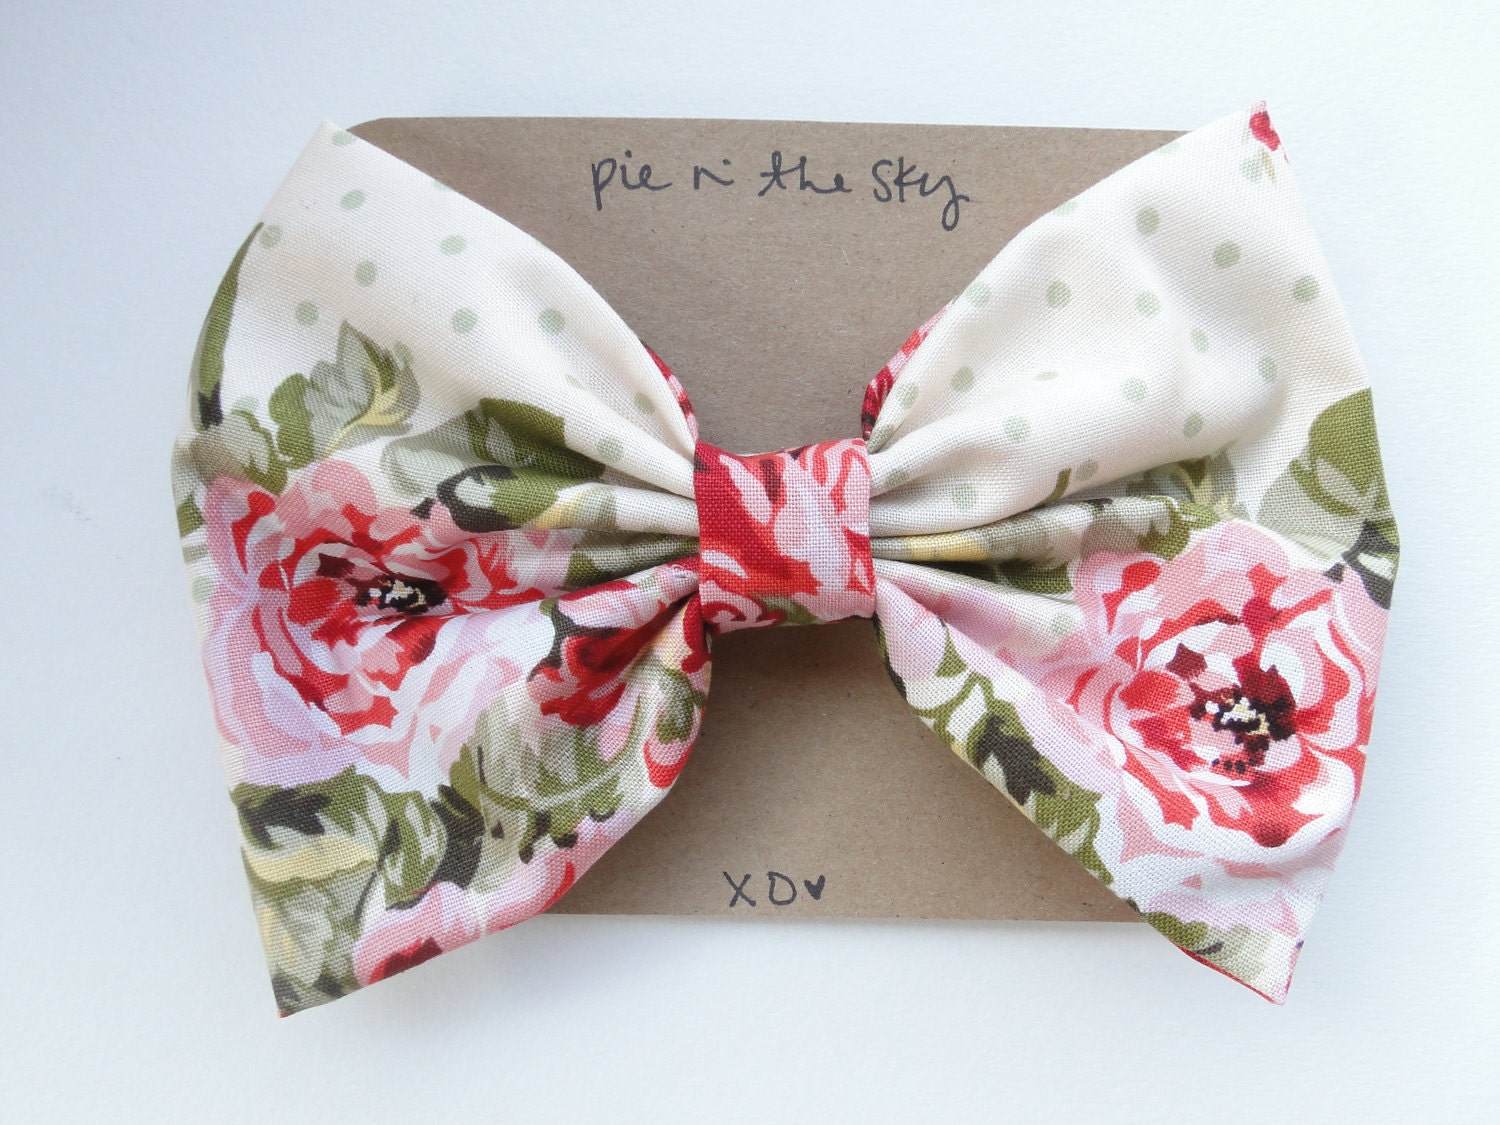
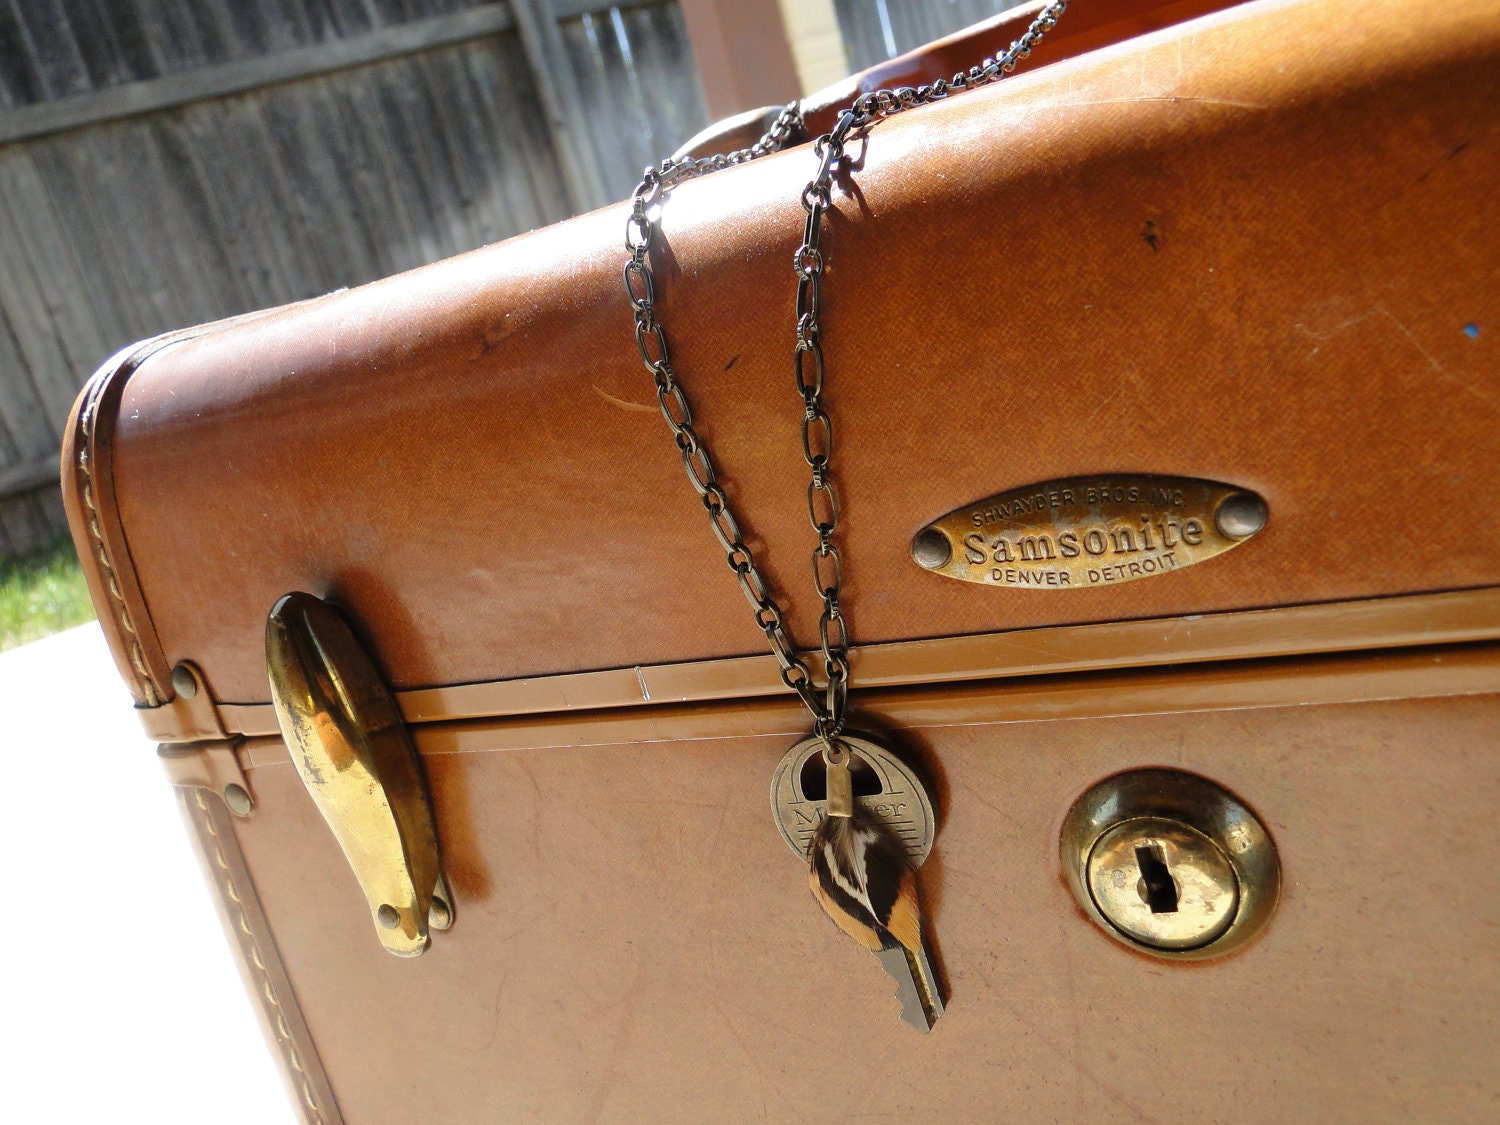
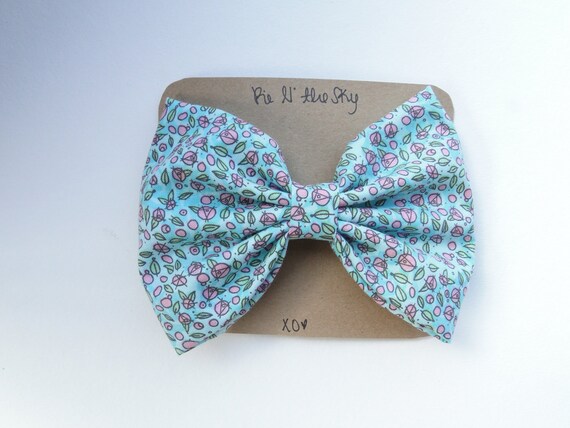
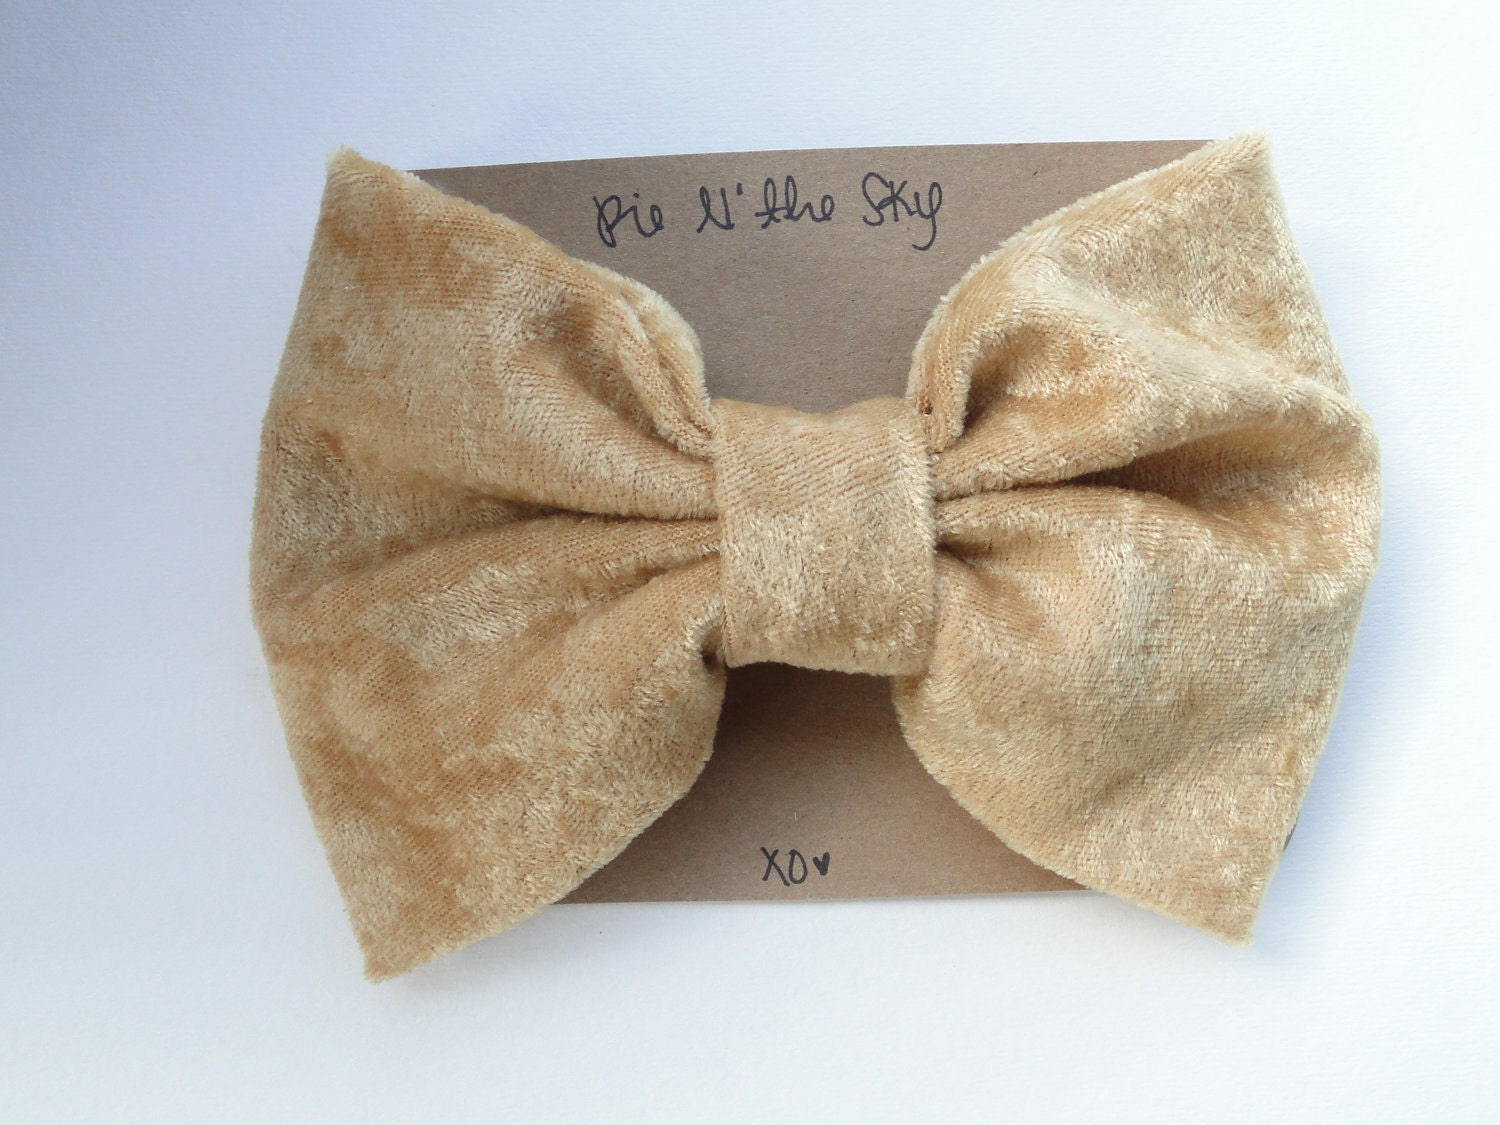
Check out my favorites from this cute little Etsy Shop that I have fallen in love with, Pie N' The Sky! These "hair pretties," and jewelry are absolutely adorable!
Bow // Pretty Pretty
Feather Frenzy
Bow // x and o
Bow // Gold Rush
Bow // Flowerama SM
Check out more cool things here!

Follow The Art of Being Cool