Monday, October 31, 2011
Trick or Treat...Last Minute Halloween Ideas!
Tuesday, October 25, 2011
DIY...Rainbow Strokes Tee
Hello everyone! Today I have a new DIY that I like to call the Rainbow Strokes Tee. I made this t-shirt in honor of my non-profit organization, Party For Autism. The different colorful strokes and the mixing of colors are suppose to represent the primarily similar yet different characteristics that make up individuals with autism. (Read about our philosophy here!)
Normally, I would give a detailed tutorial on how to make this shirt, but I feel like that takes the creativity out of it! Here are the basic materials that you will need:
-A black t-shirt (learn how to make a tank top out of a t-shirt here!)
-An Assortment of Acrylic Paint
-A paint brush (I use a black sponge brush)
-A straight edge (optional) to make sure that your lines are even on the top and bottom, and not slanted on the sides, unless that's the look you want!
Make sure that you hold your t-shirt up against you from time to time to make sure that your lines are long enough, or mark them ahead of time.
Monday, October 24, 2011
DIY...The Easy, Two Minute Bow
2. Take your seamless fabric and fold a portion of it to the width that you want your bow.
3. Cut this portion from the fabric.
4. Unfold this fabric and slightly fold the egdes of what will be the top and bottom of the bow.
5. Fold the fabric so that the two folded edges lay on top of each other.
6. Take the bottom seam that you cut off earlier and wrap it around your bow. Cut it so that it fits (I only used about 2 inches to wrap my bow)
7. Once you are finished wrapping your bow, tuck the lose edge in the back of the bow and stick a bobby pin through the back side of the bow so that it can easily be bobby-pinned into your hair.
Tuesday, October 18, 2011
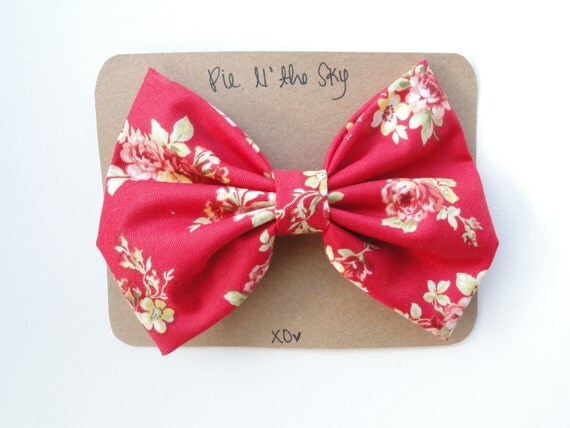
Etsy Shop- Pie N' The Sky
Friday, October 14, 2011
DIY...I'm Seeing Stripes Tee
Remember sometime, about a month ago when I told you guys that I had been working on a few DIY t-shirt projects? Well I am finally putting up my results and instructions! My prized possession is my "I'm Seeing Stripes" shirt. As you can see, the shirt has definitely had some wear and tear, due to my cheap laundry detergent, and because I wear this shirt all of the time!
Here are the instructions:
1. Crop your white t-shirt as desired, using a ruler and a pencil to draw a line of wear you plan to cut it. For short instructions on cropping a shirt, check out my DIY Flower Girl Shirt tutorial
2. On a steady and flat surface (I used an ironing board, instead of my carpet), draw lines that are a ruler's length apart (approx and inch and 1/2), all the way up to the armpit. The number of lines will vary based on shirt size; I had 7 lines.
3. Outline the lines that you plan to paint black, to ensure neatness, and then began to paint within with a black sponge brush. Make sure that the top line is painted black!
4. Measure out about 3 1/2 to 4 inches above the top back line and draw a horizontal line. This is where the yellow portion of the shirt will be. Trace the outside of this area with the yellow paint to ensure neatness and then proceed to painting. Let it dry where it is; it'll take a few hours to dry completely.
And we're finished! This is how I wore it out the other day,
Thursday, October 13, 2011
The Small World Project- What I Gave
Wednesday, October 12, 2011
The Reason Why I Walked
Tuesday, October 11, 2011
The Small World Project- What I Got and What I Gave
Subscribe to:
Posts (Atom)