Showing posts with label Crafts. Show all posts

Thursday, August 18, 2011

Flower Girl...DIY Sunflower Shirt

Hello Everyone! My creative juices have been flowing so I've decided to share a t-shirt that I made over the we can. I call it "He Loves Me" because I was inspired by a vintage teenager sitting on the edge of her window sill repeating to herself "he loves me, he loves me not" while plucking flower petals. Plus, sunflowers are my favorite flowers =)

Step 1:
Cut the collar off of a white t-shirt. Start a 1/2 inch to 1 inch away from the top of the collar, then go around the collar to the other side for an "off the shoulder" look. Also, if desired, cut off a few inches from the bottom of the shirt using a straight edge, to give it a cropped look.


Step 2:
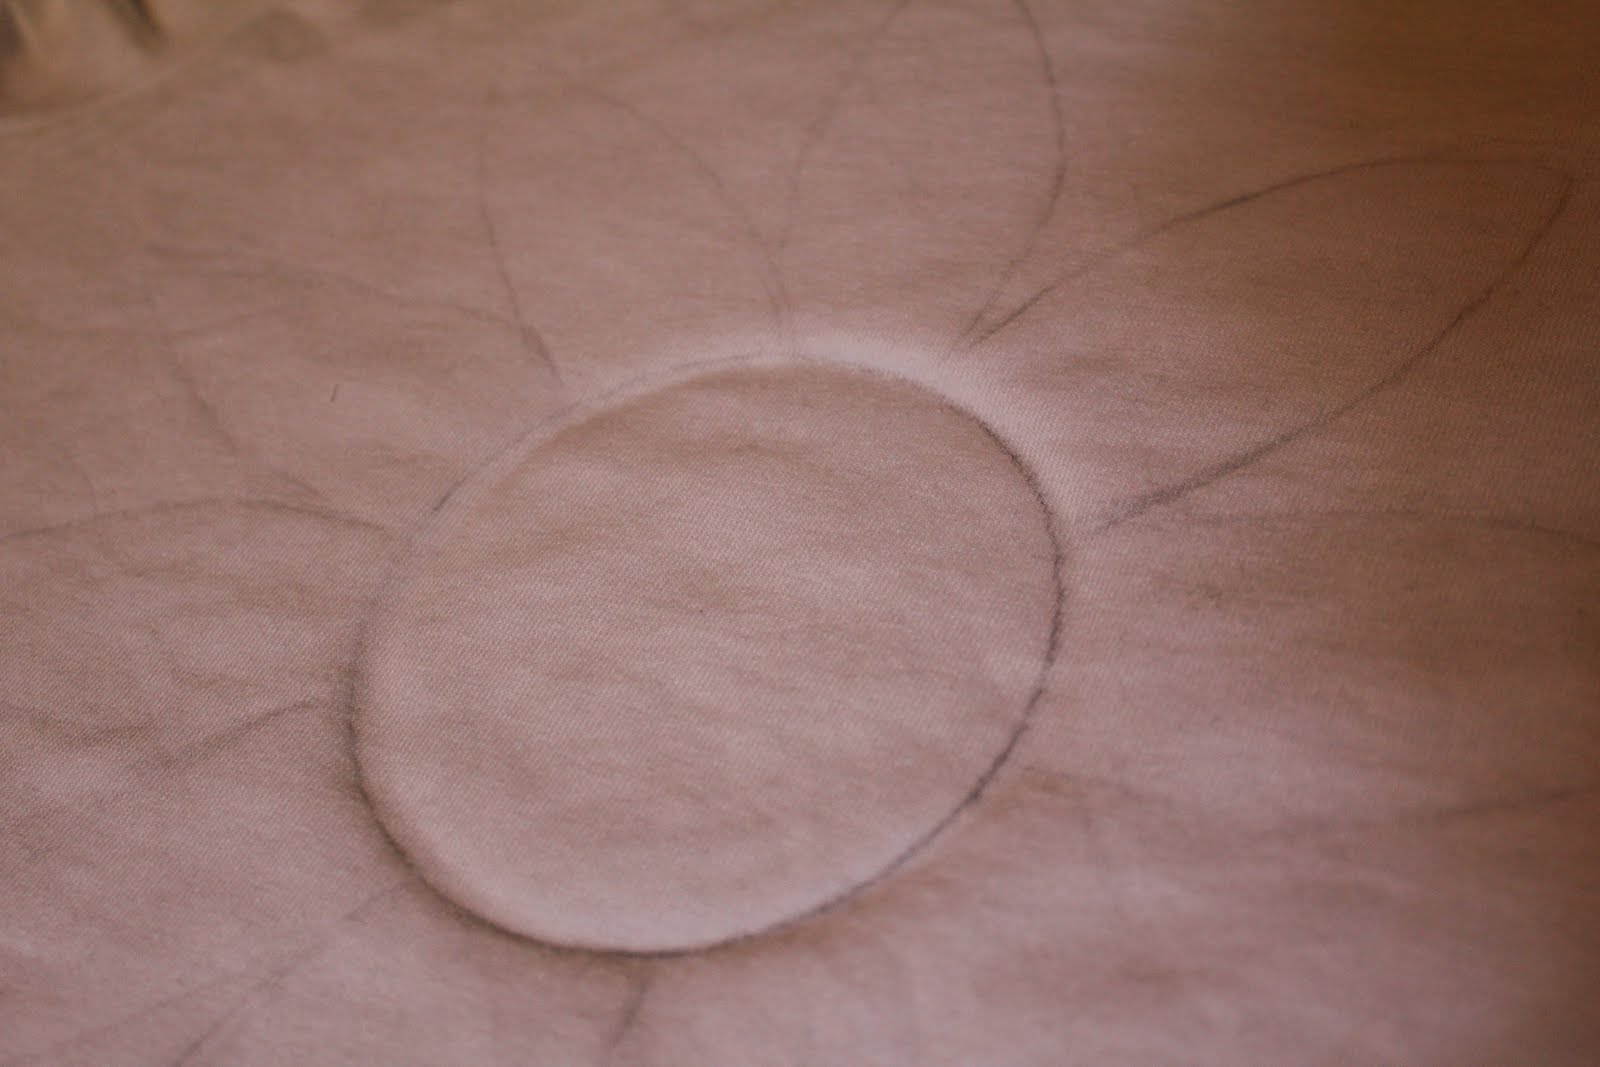
Draw your flower in pencil. I use a big can or jar for the middle of the flower and then free hand the rest.
  

Step 3:
Using acrylic paint, or another fabric paint of your choice (I use acrylic because it dries fast and gives a matte look) and a black sponge brush, outline the petals that you drew in pencil. This will help you stay within the lines and keep it looking neat. After this, fill the insides.

Step 4:
 Use a fine tip paint bottle to write the words that you want on your petal, and voila!!! Enjoy your t-shirt ;)


Follow The Art of Being Cool

Friday, July 29, 2011

DIY...Flannel Tube Top


Hi Everyone! I found a cool way to recycle your winter flannels for the summer time. I call it, The Flannel Tube Top.

Step 1: Locate an old long sleeve flannel shirt. Mine is a NY & CO hand-me down from the early 90s! A business shirt could probably also work

Step 2: Put on the shirt regularly then take your arms out of the sleeves. Button/ zip up  to your bust.

Step 3: Tie the arms in a single knot, or bow if you can.
Step 4: Fold in the collar in the back

Voila! Pair with your favorite shorts and sandals ;)

Don't forget to enter the Giveaway!


Follow The Art of Being Cool

Friday, June 3, 2011

Gifts, Gifts, Gifts! Cool Homemade Gift Ideas!

If you are tight on cash like I am, this article will come in handy! Cool people give cool gifts no matter how little they spend! HG presents 15 homemade gift ideas that aren't the standard arts and crafts:
Woodland Necklace
Recycled Sweater Scarf

Yummy Dog Treats for your furry friend

Geek Chic Belt Buckle

Text Lingo Towels

Coffee Bag Tote

See the complete list here, along with step by step instructions on these wonderful gifts!


Wednesday, June 1, 2011

Cool Marble Magnets

Want to learn how to make them?


Learn how to here!

It's Not What You Think...

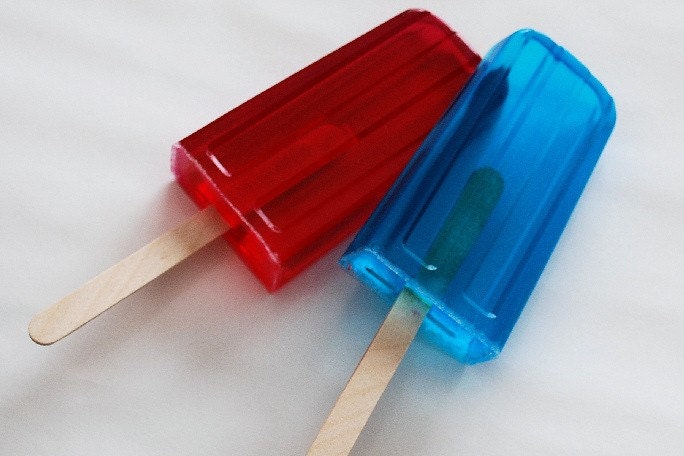
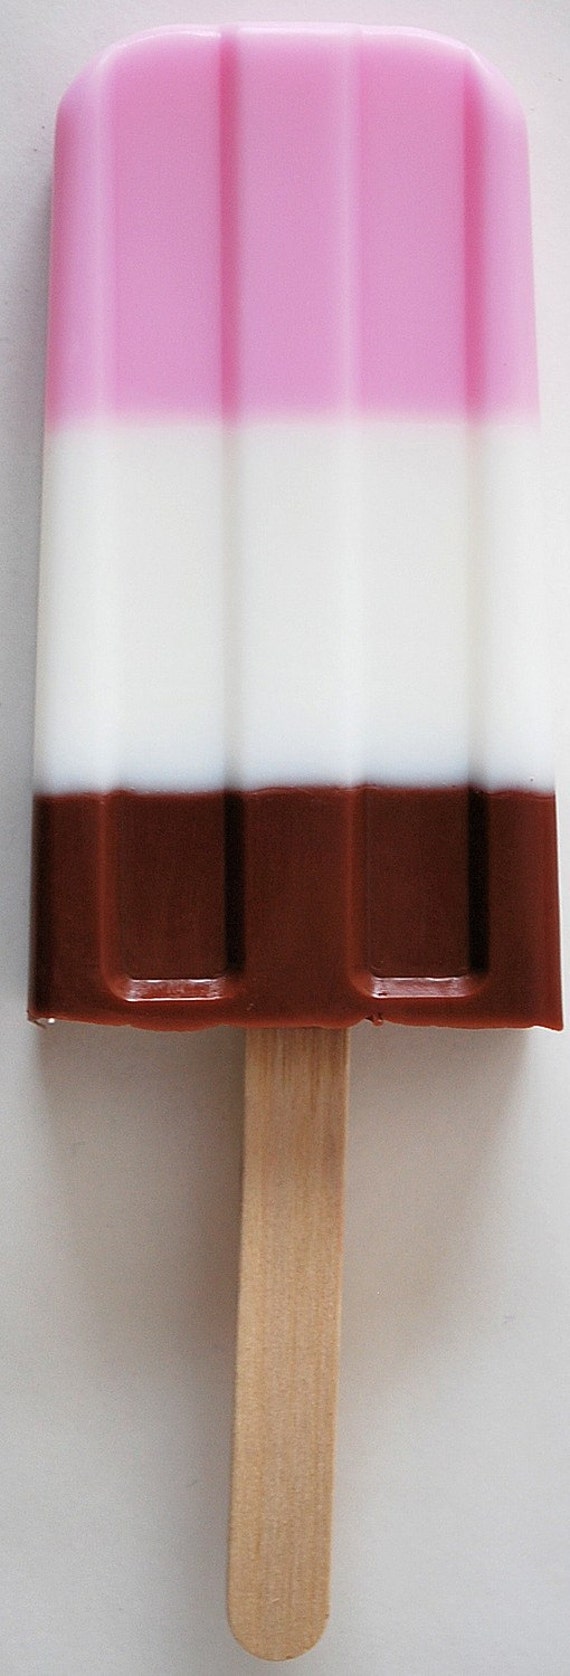
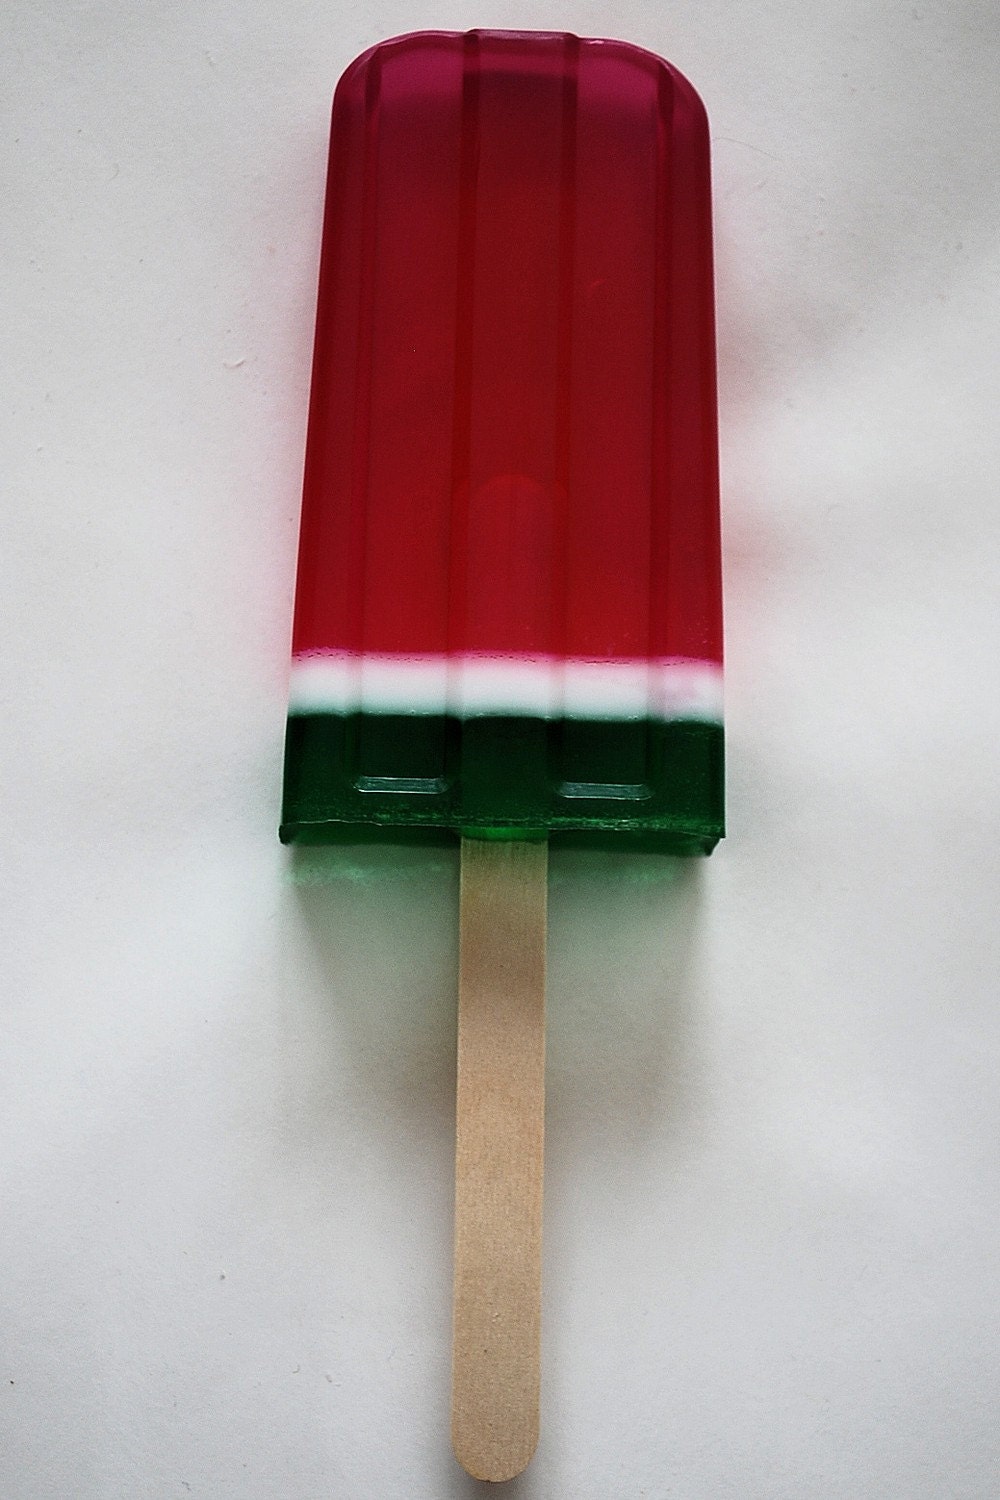
Soap on a Stick
This probably reminds you of one of your favorite childhood treats; however, this treat is not edible! I introduce you to "Soap on a Stick!" Just in time for Flag Day on June 14 and Independence day on July 4th ;)
Soap on a Stick

Soap on a Stick

Soap on a Stick

Why do these have to look so good? 
If you want it, but it here.

Snail Mail

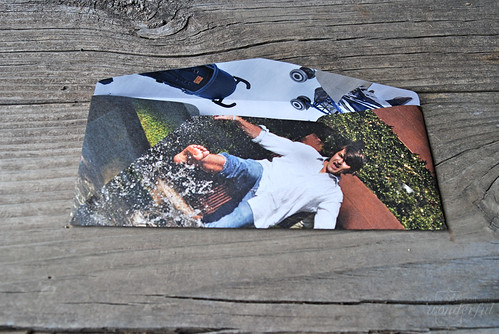
Back Envelope
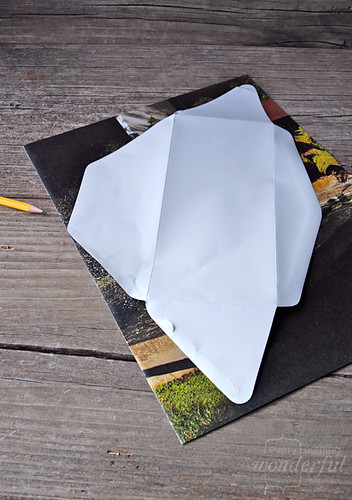
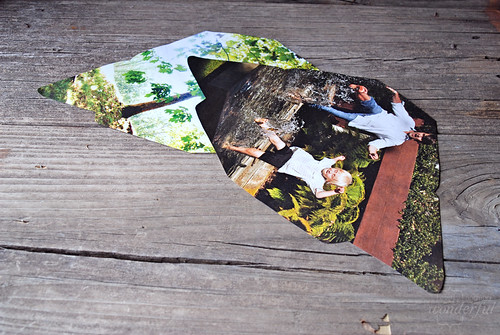
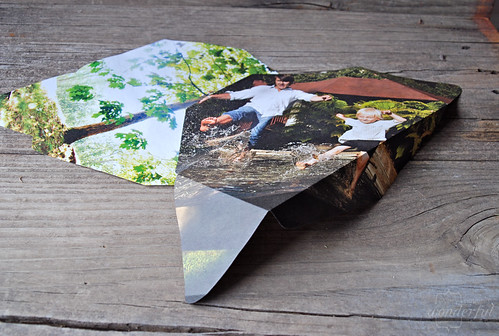
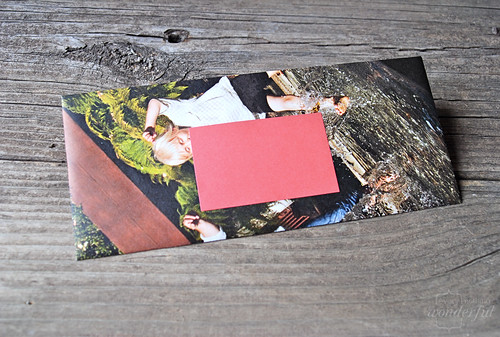
Nobody sends letters anymore; however, I know I would love to send a letter with this personalized envelope! It's really simple: make a collage of photographs that you love, scan them on to a solid sheet of paper and fold it like an envelope (or you can cheat and take a page from a catalog)!
Trace Template

Pre-Folded Cut

Folded Cut Out

Front Envelope

Get instructions here!

Thursday, May 26, 2011

Cool Restaurant Birthday Ideas

We've all had small Birthday get together at restaurants when we've been limited on funds. Well here are four ways to spruce up your special night on a budget! I threw a surprise party for my boyfriend yesterday and used these ideas, and he loved them!

Cool Party Hats
This will bring the guest a nostalgic feeling that will take them back to their school aged parties.

Party Mustaches 
This will add some character to your pictures, and will be a conversation piece.

Sparkler Candles
Light up the night with these bad boys.

Table Game
Things can get pretty interesting with this game.

Wednesday, May 25, 2011

DIY...Paper Flower Key Holder

Paper Flower Key Holder
Looking for a cool gift idea, or just something to make your home decor stand out from others? Try making this Paper Flower Key Holder. I bet you'll never loose your keys again!
Click here for the instructions, then come back here to tell me what you think of the design =)

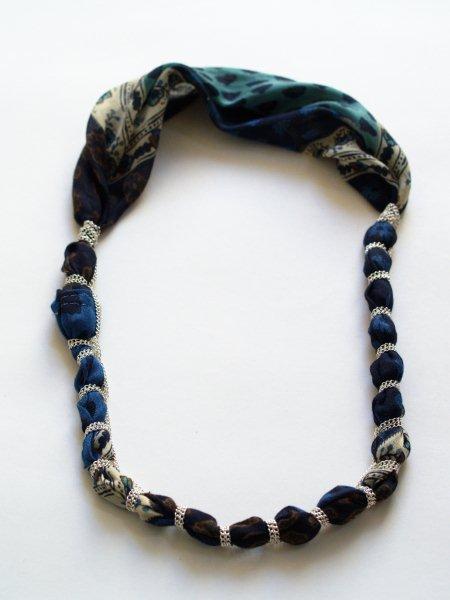
Cool DIY Necklace

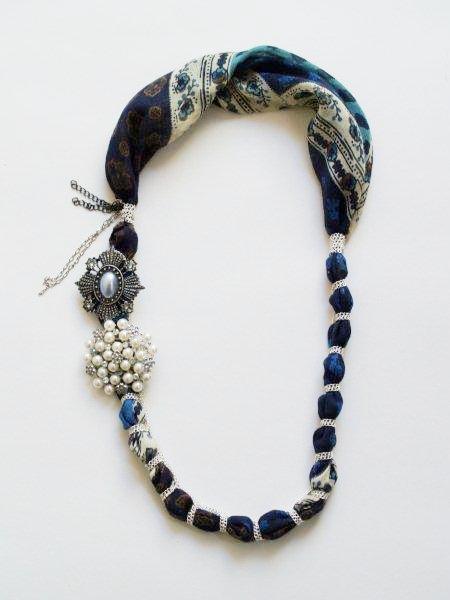
Like this necklace? Well, it's homemade! Learn how to do it below:

Materials:
  • Sewing Machine (you can hand sew it, it will just take longer)
Supplies:
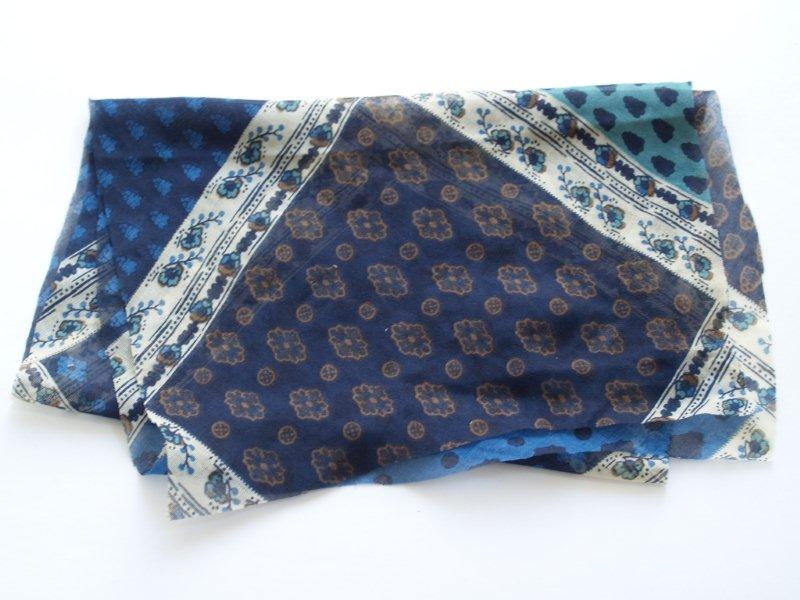
  • Scarf or lightweight fabric (you need enough for a 33″ x 12″ piece)
  • Silver chain – 4 yards
  • Small pieces of different chains
  • 2 Large beaded pieces or pins (I bought these at Michaels)
  • Needle and matching thread
Cut out your fabric – you need a 33″ x 12″ piece. I recommend you cut it out on the bias if you have enough fabric. It helps it lay nicer.
(The bias is a 45 degree angle from the selvage. It’s basically a diagonal cut.)
You can see that my fabric was pretty sheer. If yours is a thicker fabric you might want to cut down on the width of your rectangle. Try bunching it up. If it is pretty thick, I’d recommend a narrower rectangle.
With right sides together, sew the rectangle into a long tube. Turn right side out.
Turn the raw edges under and overlap them, making a circle. Sew. I did two rows of stitching to make sure it would hold.
 It helps to lay out your circle in a necklace shape. Put the seam on the left, towards the top. Place a pin on the right side of the circle, about 1″ above the point across from the seam. That is where we will start wrapping.
Double up your chain so it is 2 yards long. You will work with the chain doubled as you go – treating it as one chain.
Begin with the halfway point.
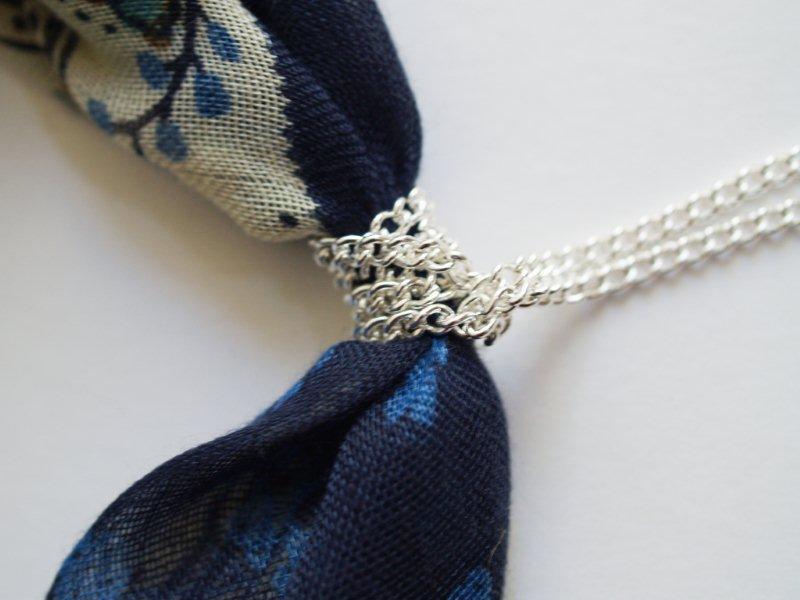
Leaving that halfway point with a little space, wrap the chain around the fabric tube twice. Feed the other ends of the doubled chain through the halfway point loop and pull. Don’t pull super tight – you don’t want to stress the chain – but so that it is snug against the fabric.
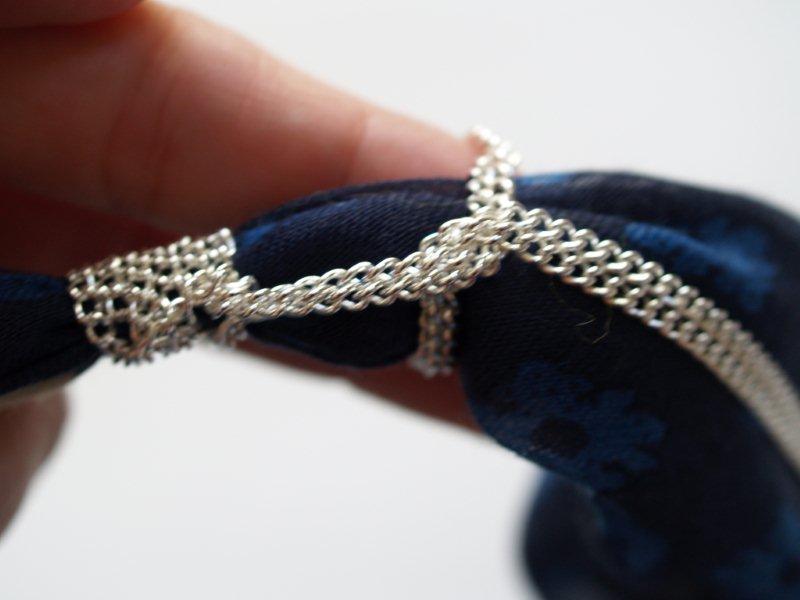
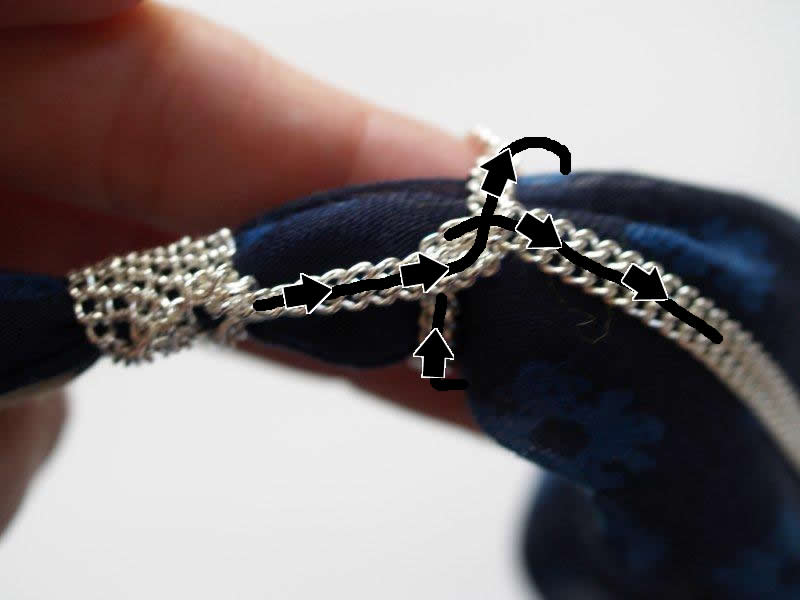
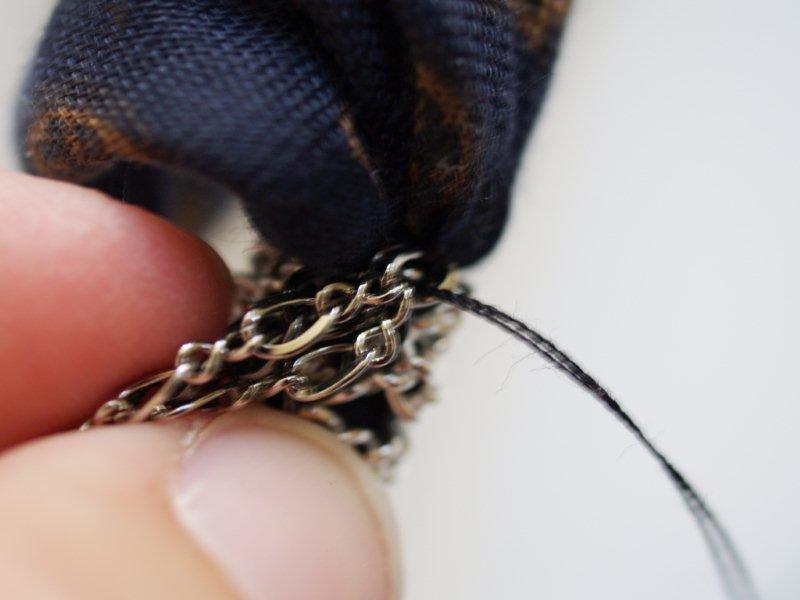
 Lay the chain along the fabric for about an inch. Hold the chain at that point. Wrap the chain around the fabric tube. Bring the ends up and run them under the wrapped part and pull snug.
 Here is a handy arrow drawing to illustrate. Don’t laugh.
Continue wrapping and looping around the bottom of the fabric tube. Keep the distance between loops the same, except for over the stitching line. That can be a bit longer.
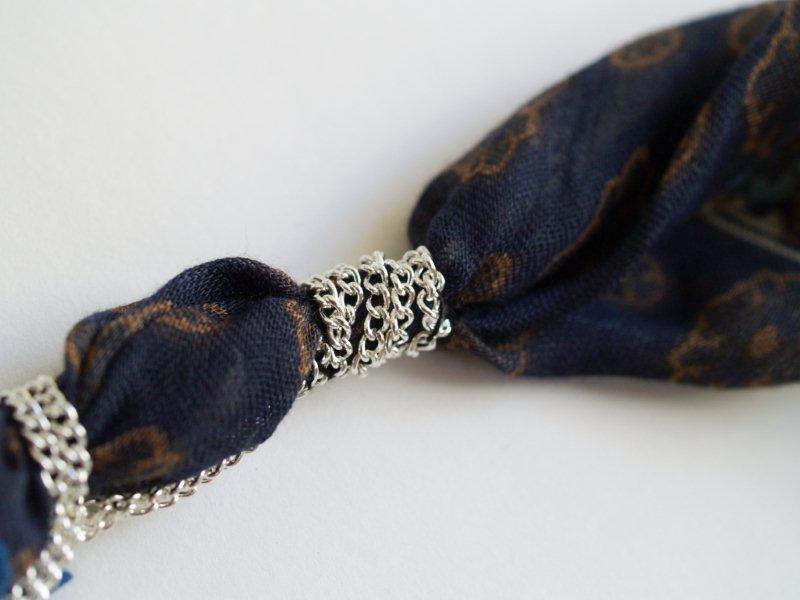
When you get just above the stitching, wrap the chain around the tube four times.
 Sew down the end of your chains.
If you have chain leftover, trim it off.
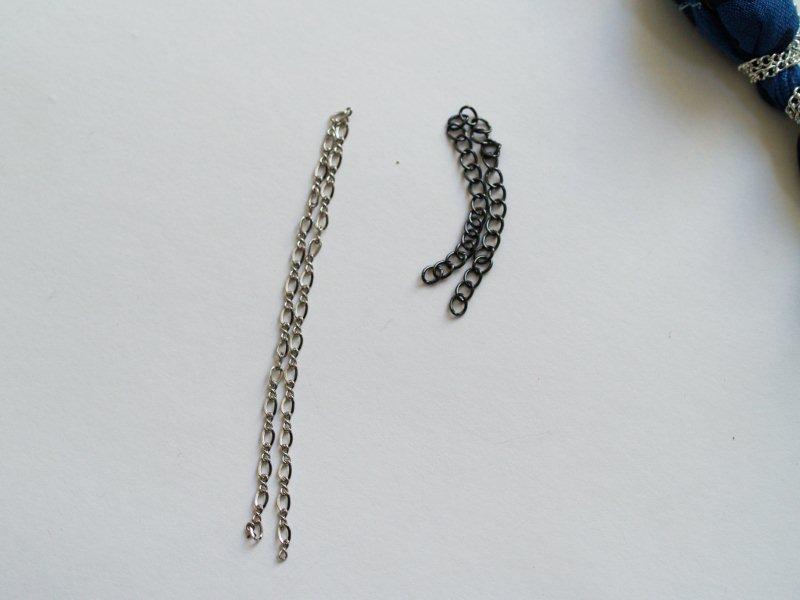
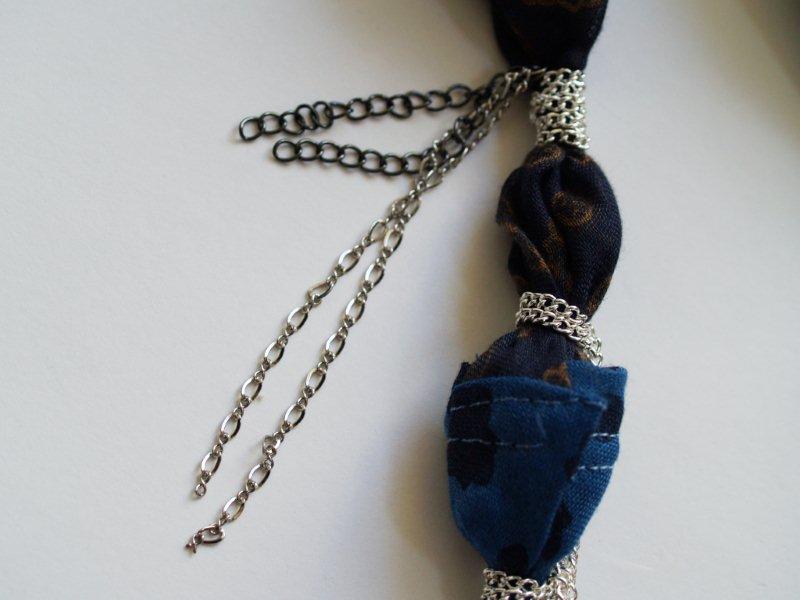
Fold in half your two small contrasting chain pieces.
 Sew the folded ends to the fabric tube at the top of your wrapped chain on the left side.
 
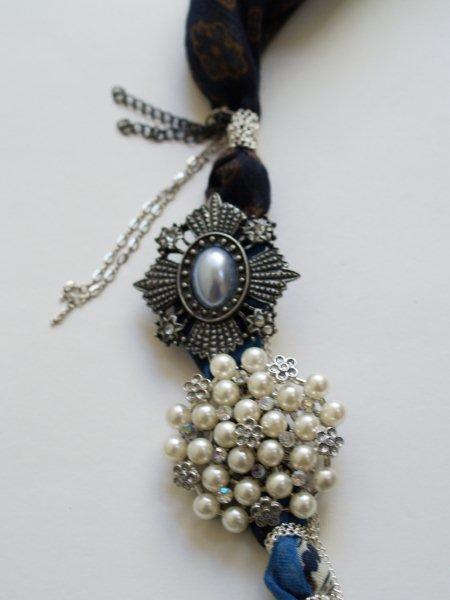
 Sew on your large beaded pieces on the left side, making sure you cover up the seam. If you are using pins, you can just pin them on, but I’d recommend sewing these on as well, for stability.

Monday, May 23, 2011

DIY Binder Clip Organization

binderclips_kabels.jpeg
An easy and cool way to stay organized! Clip the binder clips at the end of your work desk to keep your cords organized.